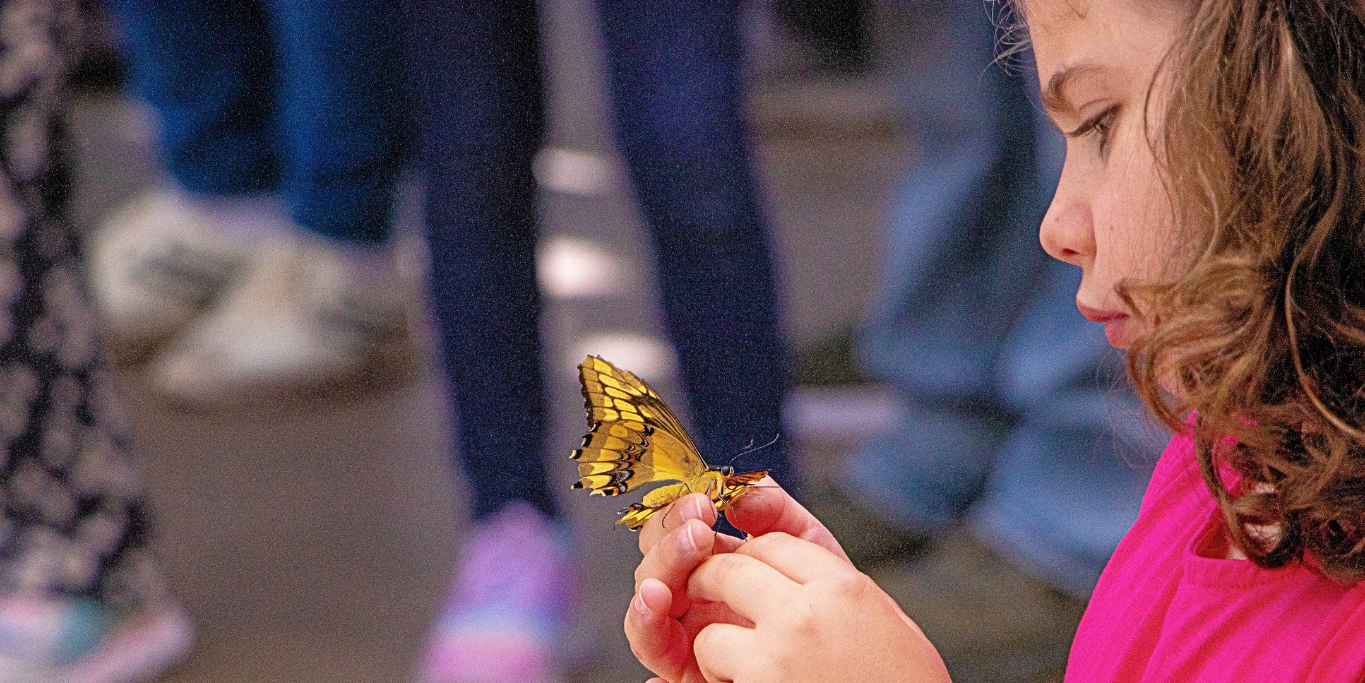
Before you enter our butterfly conservatory, you will see dozens of butterflies framed on the walls. Butterfly pinning can be a beautiful way to preserve and honor these graceful insects. If you would like to frame your own butterfly, here is a step-by-step guide. It should be noted: we do not condone and greatly discourage the killing of a butterfly for art or display. Only go through the pinning process after the butterfly has died/if you have found a dead butterfly.
What you will need:
- Butterfly
- Envelopes, Window Screen, or Wire Mesh
- Scissors
- Moth Crystals, Pine-Sol, or Lysol
- Towels or Paper Towels
- Plastic Container with Lid
- Pins
- Styrofoam Board or Mounting/Spreading Board
- Forceps
- Index Cards
- Wax or Trace Paper
- Shadow Box or Similar Deep Frame
- Glue Stick
step 1: relax your butterfly
When a butterfly dies, its organs and blood dry up, causing the butterfly to stiffen. Before the butterfly wings can be spread out, they need to first be softened in a relaxing chamber.
- Line your plastic container with a wet towel and throw in a few moth crystals or a couple of drops of your antiseptic (pine-sol or Lysol). This will prevent mold.
- Lay the window screen or wire mesh on top of the paper towel. Use your forceps to place the butterfly on top or place the butterfly inside the envelope.
- Fold it in half, and cut off a corner. The goal is to avoid getting the butterfly too wet, while still allowing enough moisture for relaxation.
- Seal the container and wait 12-24 hours. (Larger butterflies will take longer to relax).
- Before you move on, make sure you can open and close your butterfly’s wings with relative ease, if they are still stiff you will need to wait a day or two longer.
step 2: position and pin
- Cover your Styrofoam board with a sheet of wax or trace paper and pin the corners down.
- Squeeze the butterfly’s thorax to separate the wings and insert a pin halfway through the thorax. There should be a grove in your board that you can push the rest of the pin into to hold the butterfly in place. A butterfly’s wings are covered in scales (it’s really cool! You can learn more about it on our butterfly wing blog post). These scales rub off easily, so whether you use your hands or forceps, be gentle. Put a pin on each side of the abdomen and each side of the thorax.
- Now that the butterfly is securely in place, take two strips of wax or trace paper and set them on each side of the butterfly. Use a pin or the forceps to push up the large vein on the top of the forewings until the bottom part of the forewings is perpendicular to the body.
- For the hindwings, similarly, find the vein and push it up into the position you want. Next, take a few pins and push them through the paper outlining the butterfly’s wings. Try not to pin the wings but get as close as you can. The antennae should form a V shape.
step 3: let it dry
Leave your butterfly to dry for 24-48 hours. Once it is dry, you can remove the pins and strips of paper.
step 4: framing
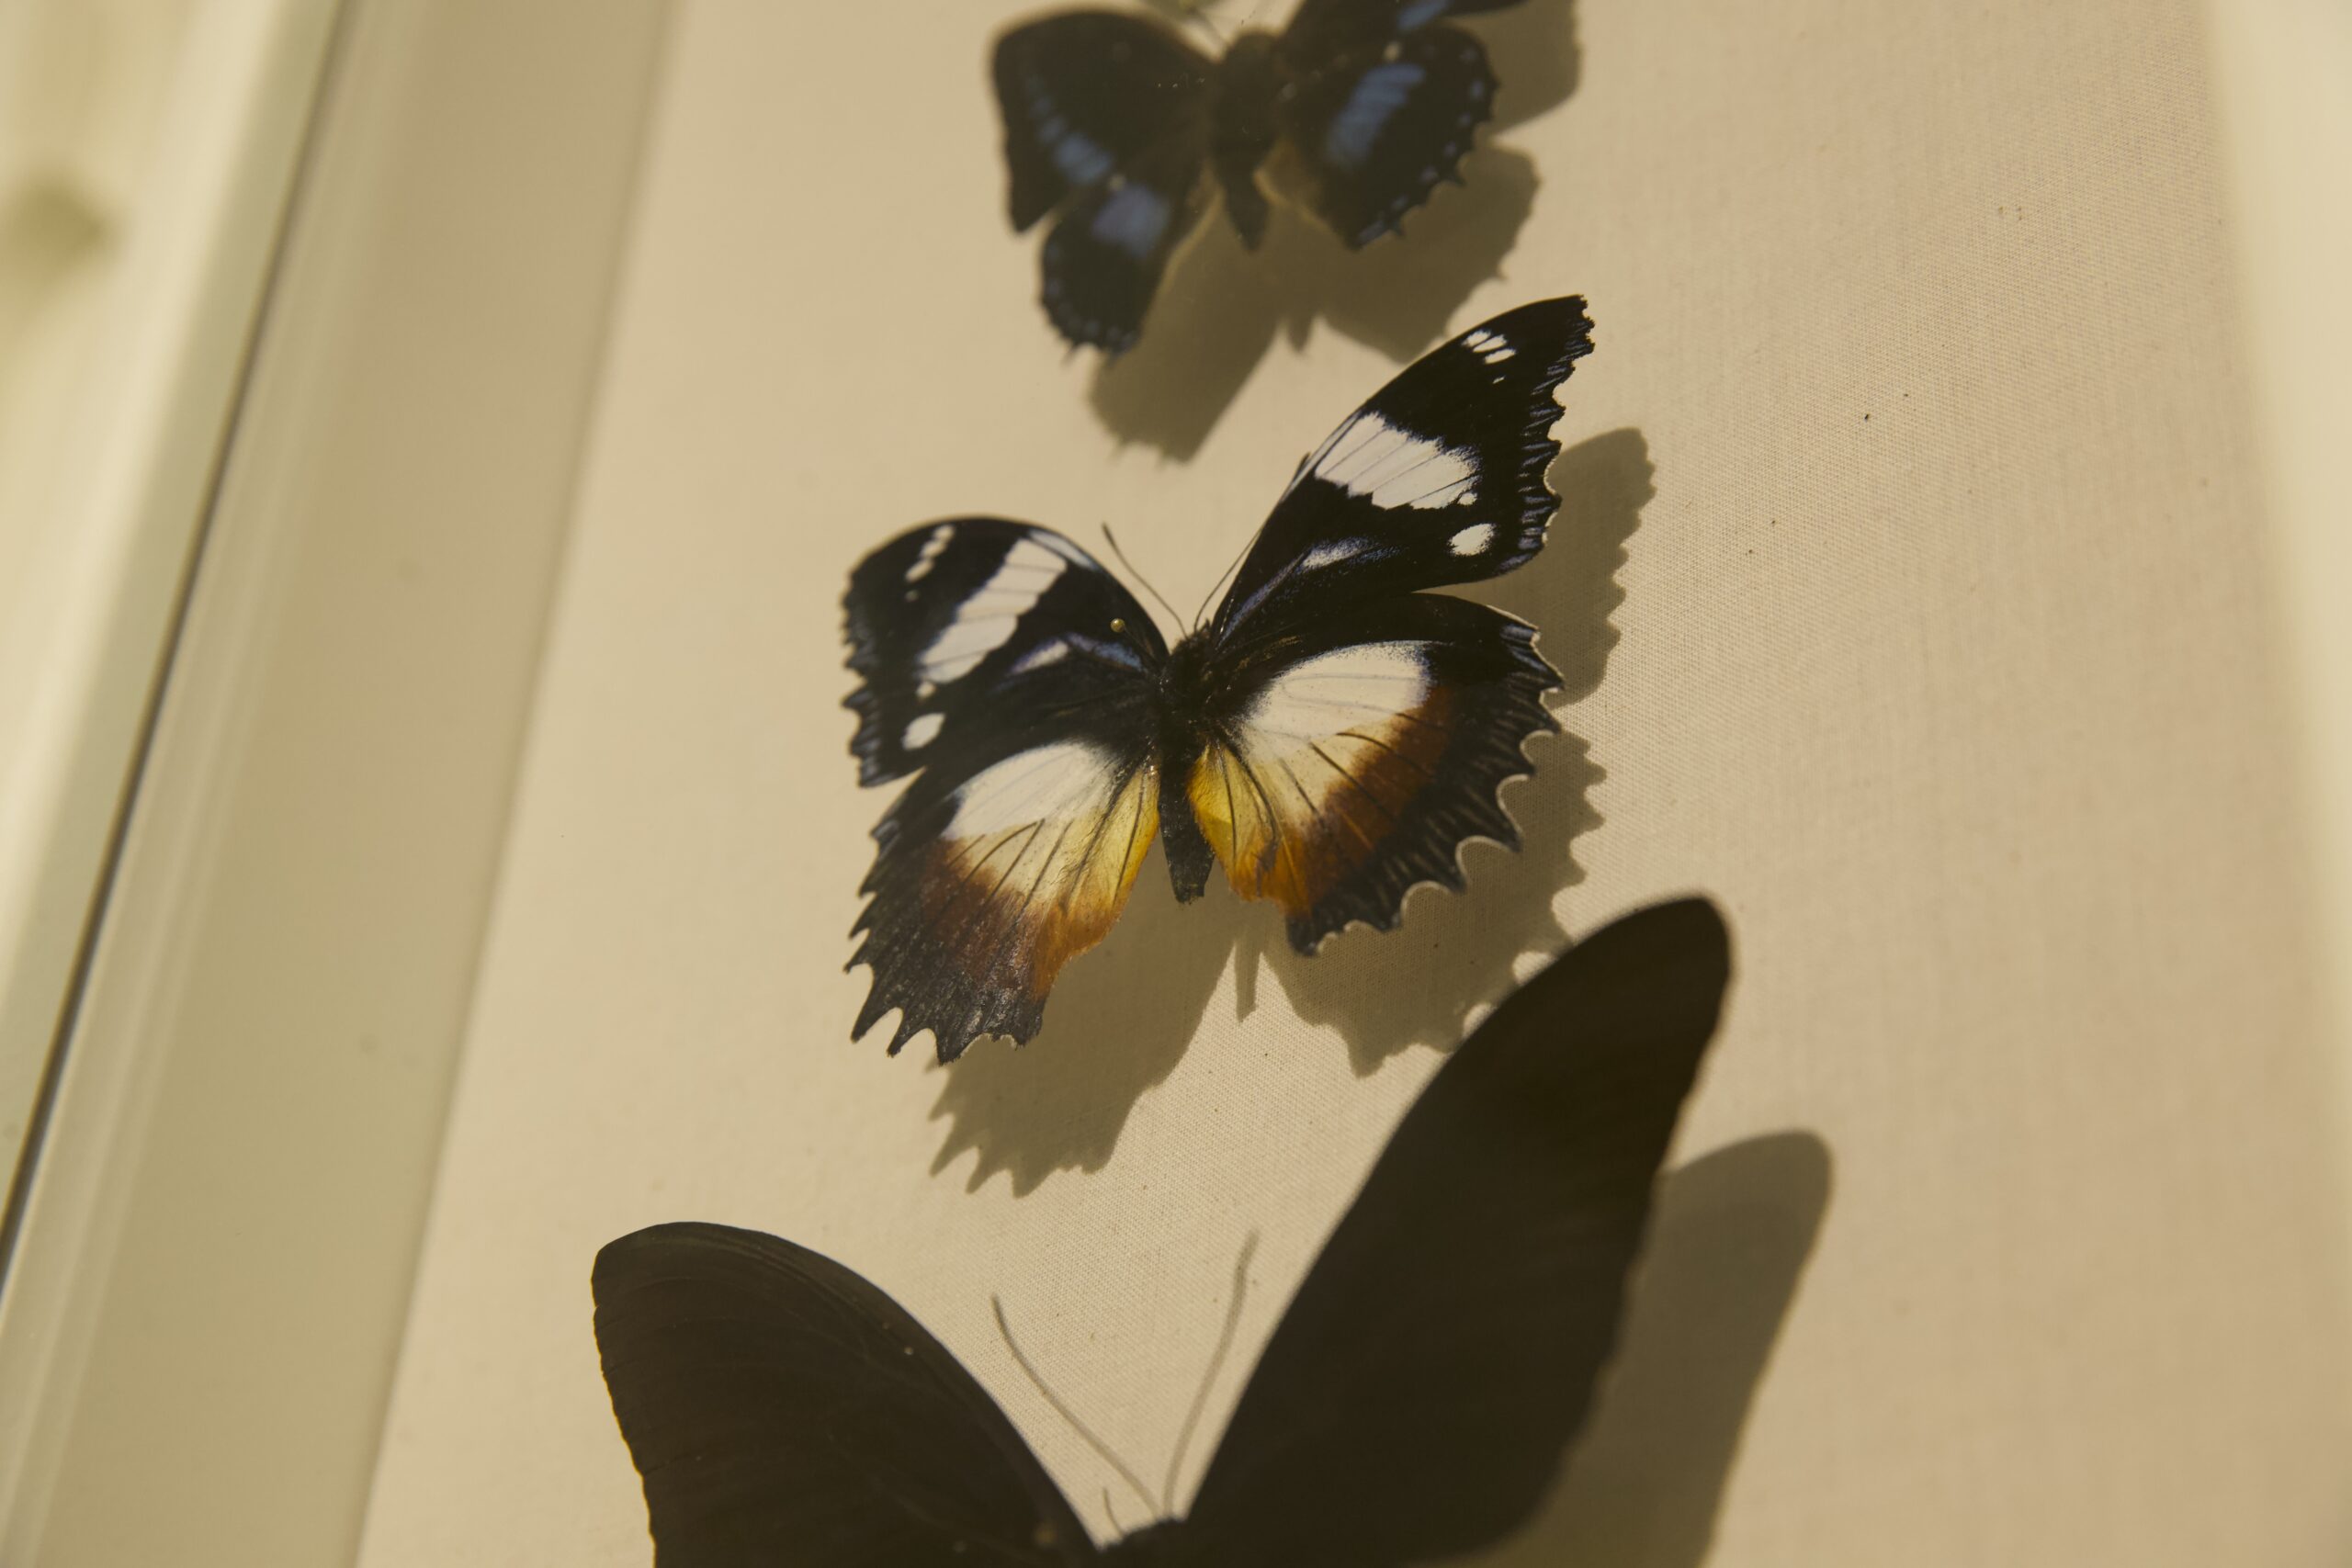
There are many ways to frame a butterfly, but arguably the easiest way is using a shadow box. Cut about a half-inch piece off your glue stick and glue one end to the back of the butterfly’s body and the other end to the inside of the shadow box. Just like that, you have a framed butterfly that you can hang on your wall or place on your bookshelf.
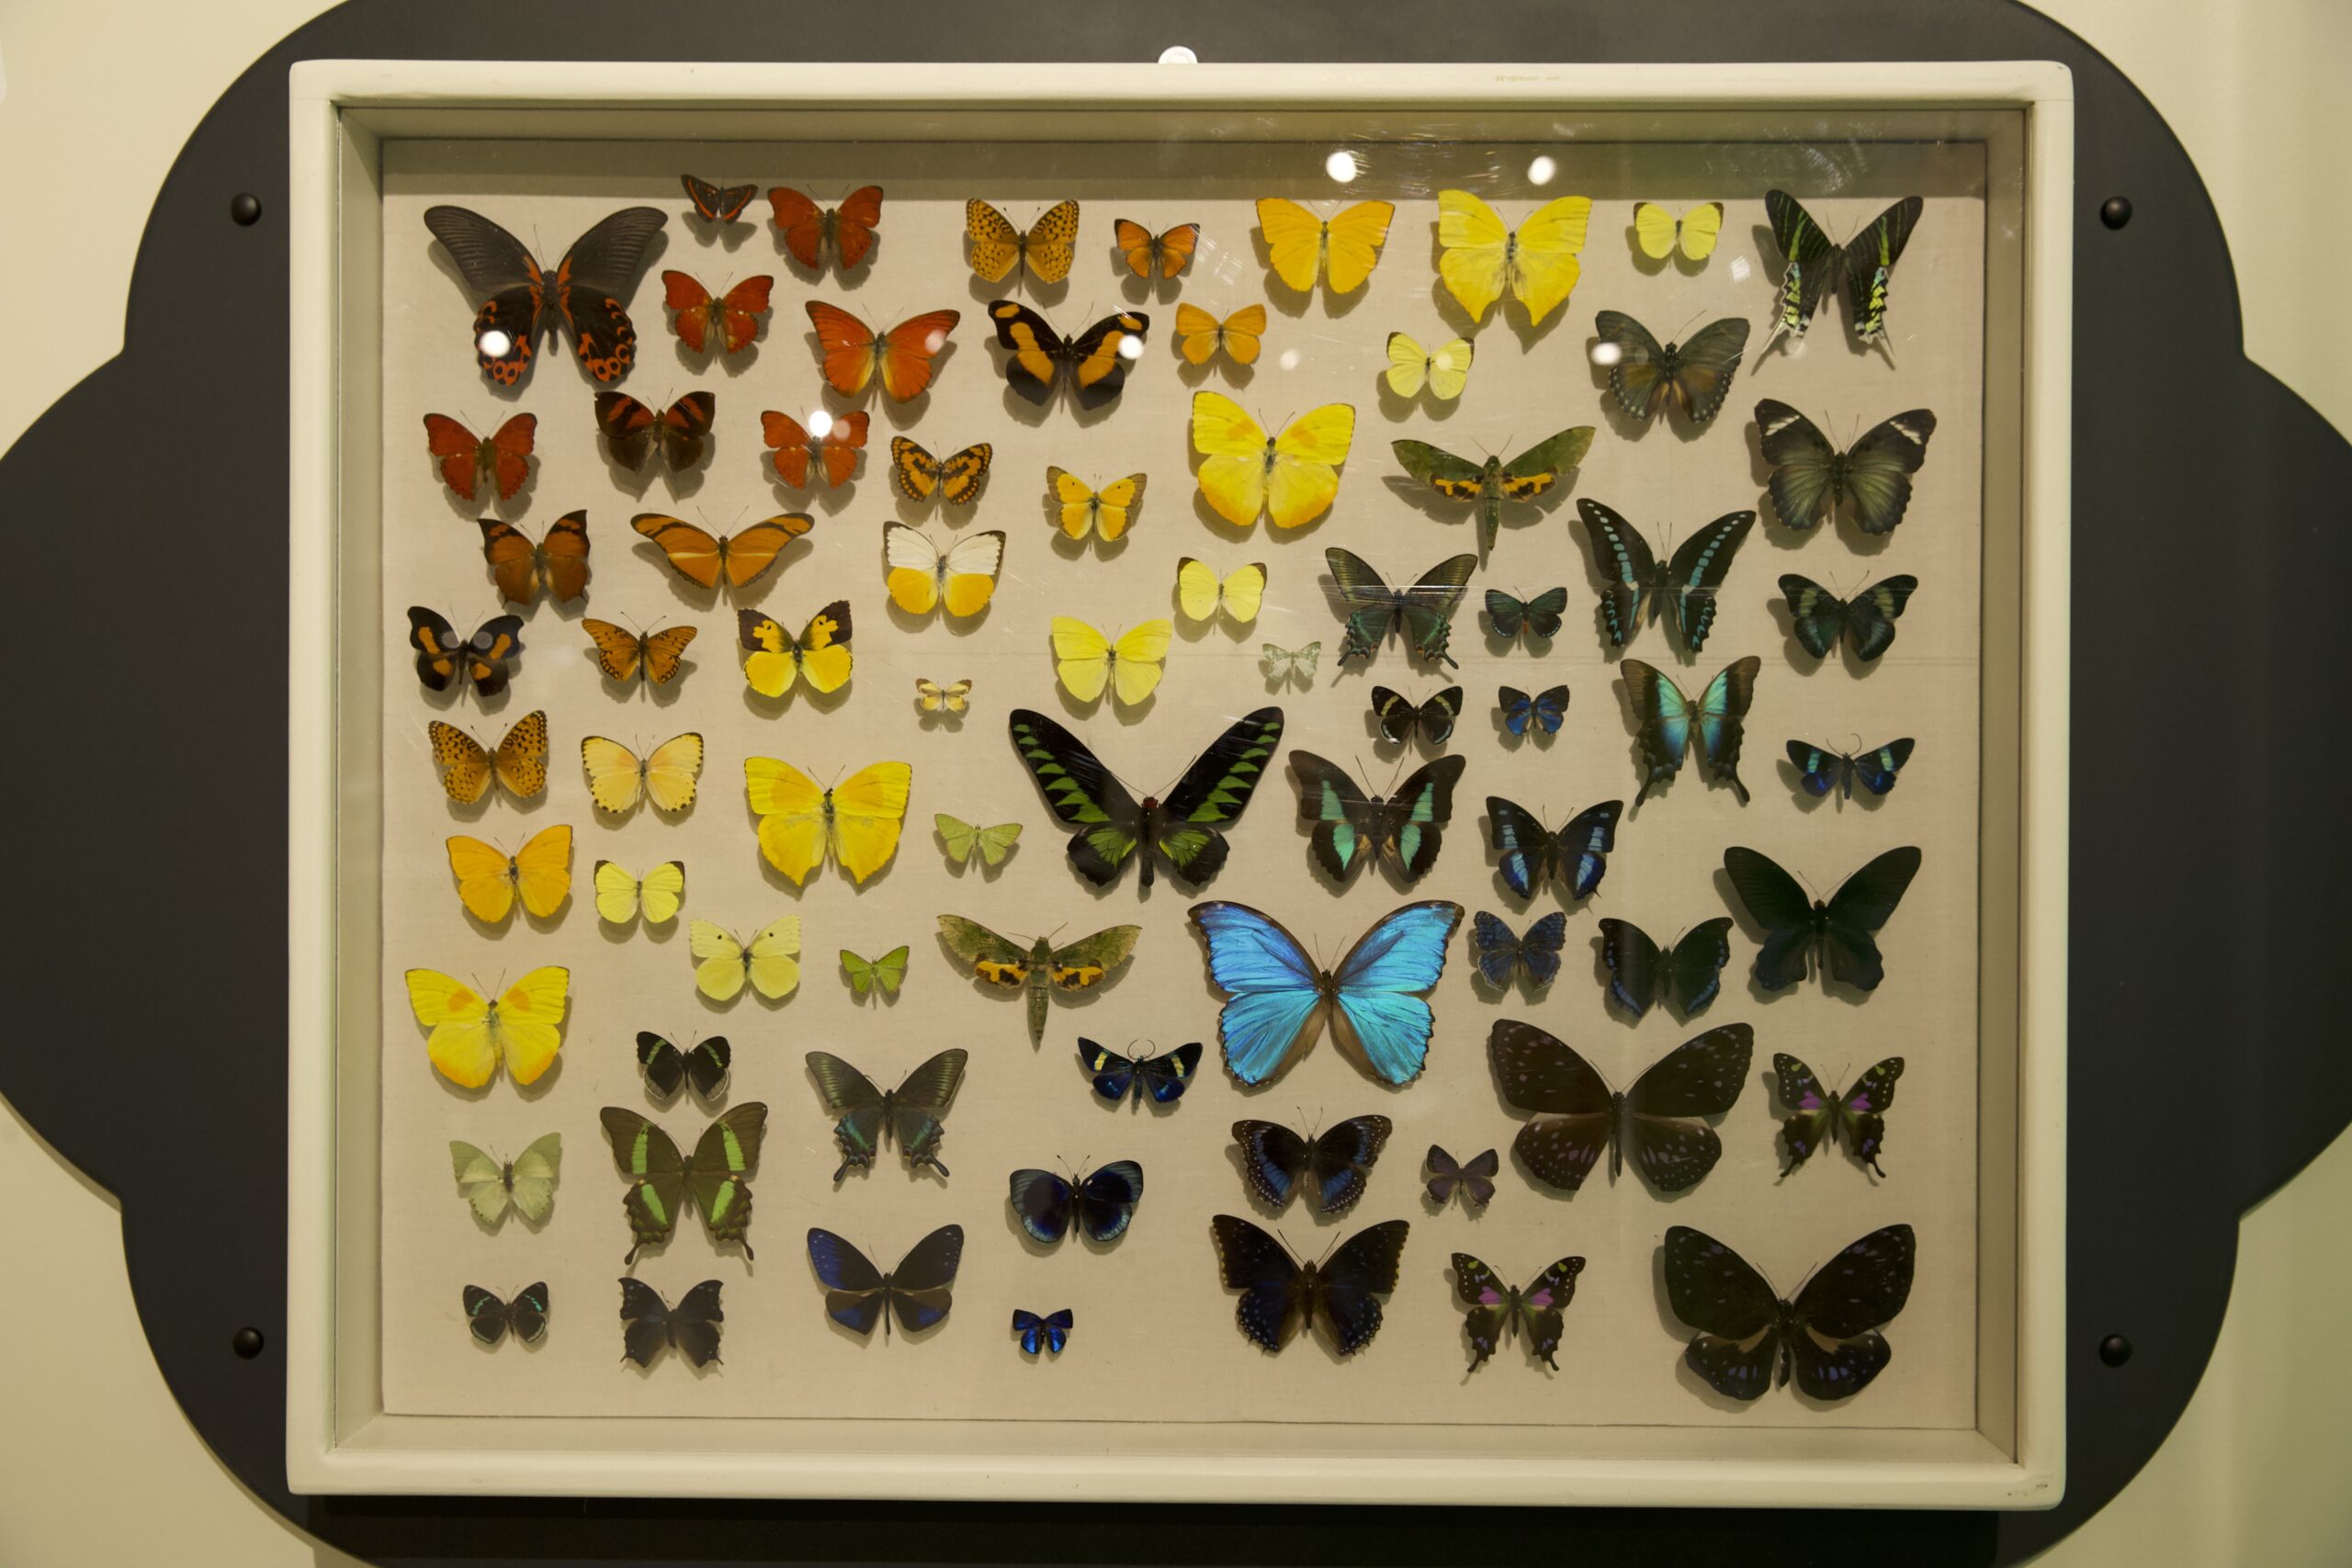
We have several framed butterflies in the Biosphere if you need some inspiration. We also have specimens you can purchase for pinning, and butterfly kits that can show you how to take care of them while they are alive before you preserve them once they die. If you like framed butterflies, but do not want to do it yourself, we have some you can purchase in the Biosphere gift shop. Happy framing!