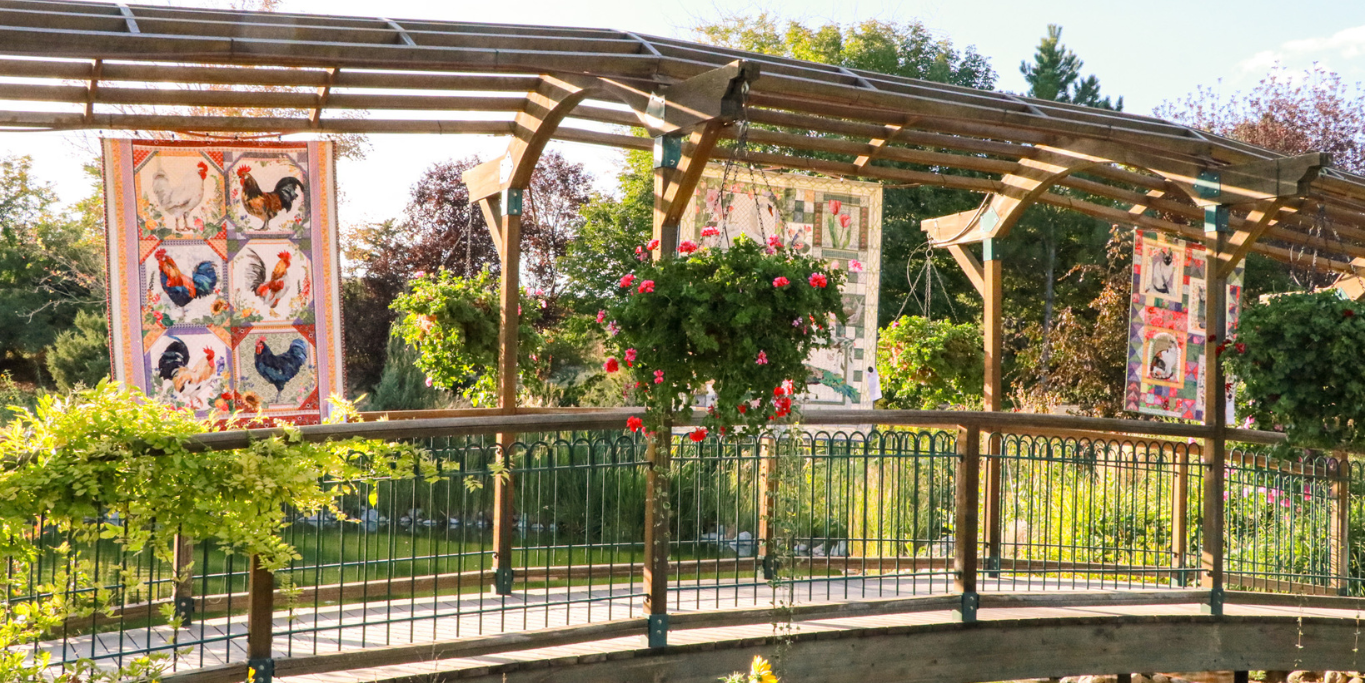
The annual Thanksgiving Point Tulip Bulb Sale at Ashton Gardens is a beloved tradition for tulip lovers to bring the wonders of the natural world home with them. With “Grab Bags” containing a variety of bulbs available for purchase, bringing these beautiful flowers home with you is easier than ever.
But now that you have your beautiful, imported-from-the-Netherlands tulip bulbs, what do you do with them?
Step 1: Bulb babies
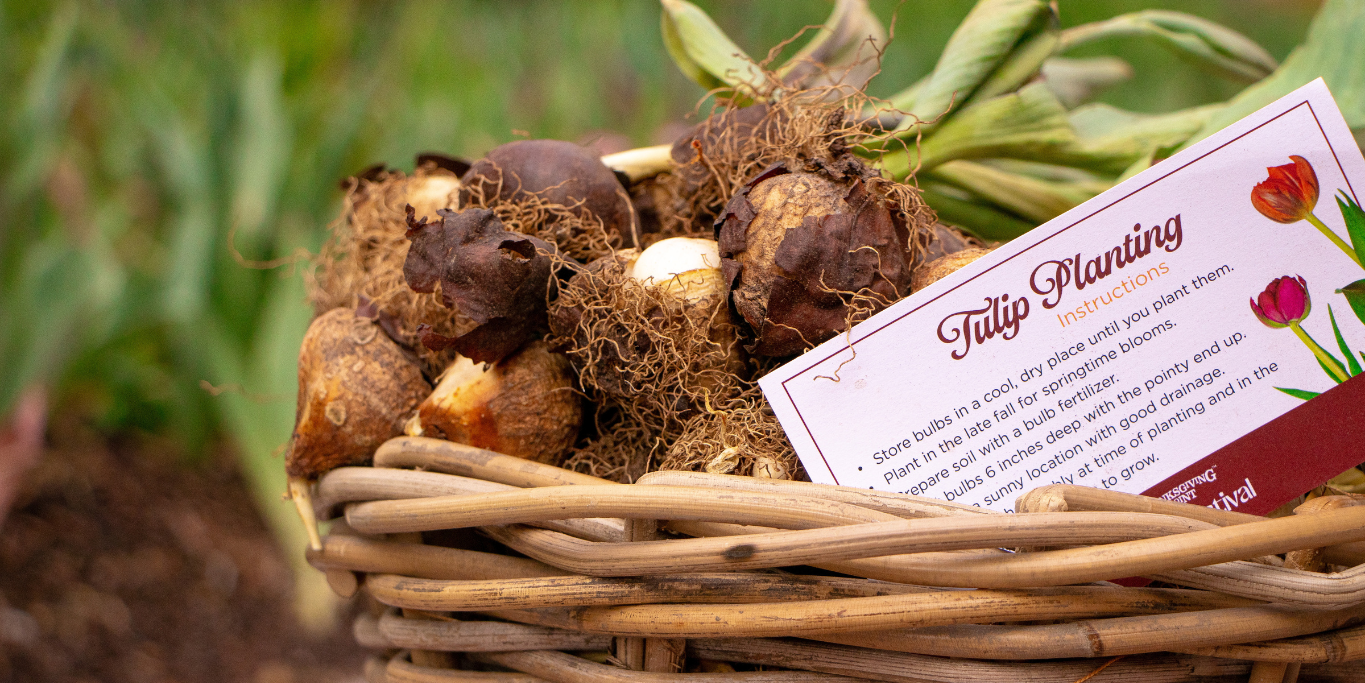
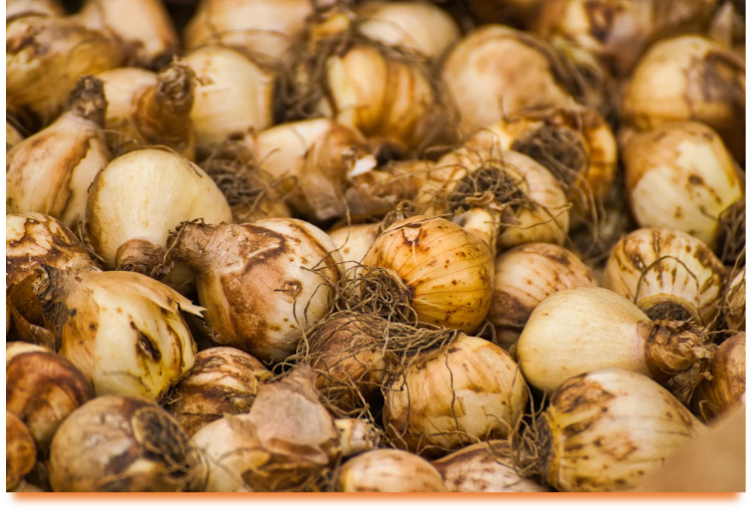
The first step is patience. Tulips need a cold season to develop their roots and won’t be ready to plant until the fall. After you purchase your bulbs, you’ll want to securely store them away. Unpack them as soon as you get home and put them in a dry place where the temperature stays between 40 and 70 degrees Fahrenheit.
Step 2: Planting the Bulbs
When autumn’s first big gust of wind comes rushing in, you’ll know it’s time to plant your bulbs. The best tulip planting soil is 60 degrees Fahrenheit or colder. These cold temperatures prevent disease and keep away the animals who might try to swipe the bulbs.
Find a spot in your garden that has well-draining soil that receives full sun to partial shade.
Plant the tulip bulbs as deep as the bulbs are high (which usually equates to 5 to 7 inches deep) and 4 to 5 inches apart. If you are planting your tulips in groups of 50 or more, space your bulbs 2 to 3 inches apart to create a fuller look. The bulb should be placed at the bottom with the point end up.
Give your bulbs a lot of water after you plant them, but make sure you have effective drainage. Bulbs that bathe in their water will rot. After this initial planting, you will not have to water them again until they bloom in the Spring. Winter will do the rest of the work for you.
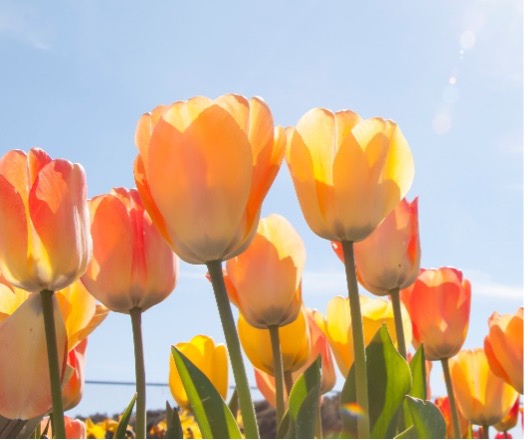
STEP 3: Tulips In Bloom
Enjoy the bloom! If you snagged a “grab bag” that contained multiple varieties with different bloom times, you will likely have flowers blooming from early to late spring. If it rains frequently, you will not need to water your fresh tulips. But, if it rarely rains, weekly watering is recommended.
Once their season is gone and tulips are finished blooming, be sure to not cut the foliage right away. The leaves, through photosynthesis, will create nutrients the bulbs will need for their next growing season. Once the flower is completely withered and yellow, you can remove the leaves and get ready to do it all over again.
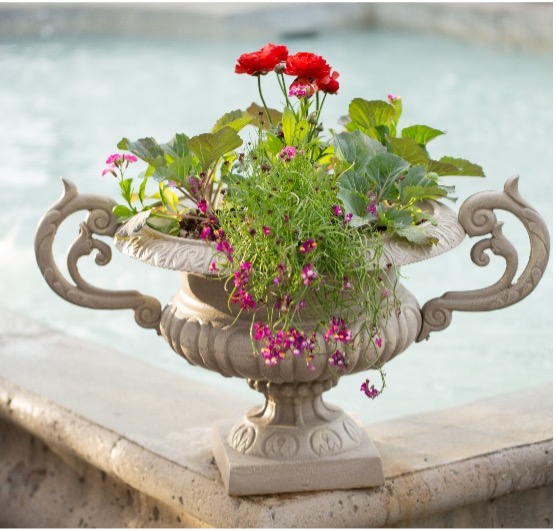
In a pot or container
If you are planning to plant your bulbs in a flowerpot or container, most of the same steps apply. You’ll just want to make sure the container has significant drainage. Compost or manure can help add nutrients and help the soil drain. You’ll also want to plant your bulbs 3 to 4 inches apart or however much space your container will allow.
Annual VS. Perennial
Though tulips are perennial, you cannot always count on them to bloom every year. If you are wanting an annual tulip garden, it is best to get new bulbs yearly (which, of course, Thanksgiving Point can help you with).
Thanksgiving Point members receive an exclusive pre-sale on May 26 and 27, with bulbs going on sale to the general public on May 28. “Grab bags” containing a variety of bulbs (with no certain variety guaranteed with any given bag) will be available for purchase. The bulbs are $5 for a dozen and $22.50 for five dozen. Members will receive 10% off their purchase. Please bring your own eco-friendly or reusable bags to put your tulip bulbs in!
Taking the Tulip Festival home with you each year is a great way to spread the beauty of spring into your backyard. Be sure to post pictures of your tulips in bloom next year and tag us using @thankspoint on all platforms!