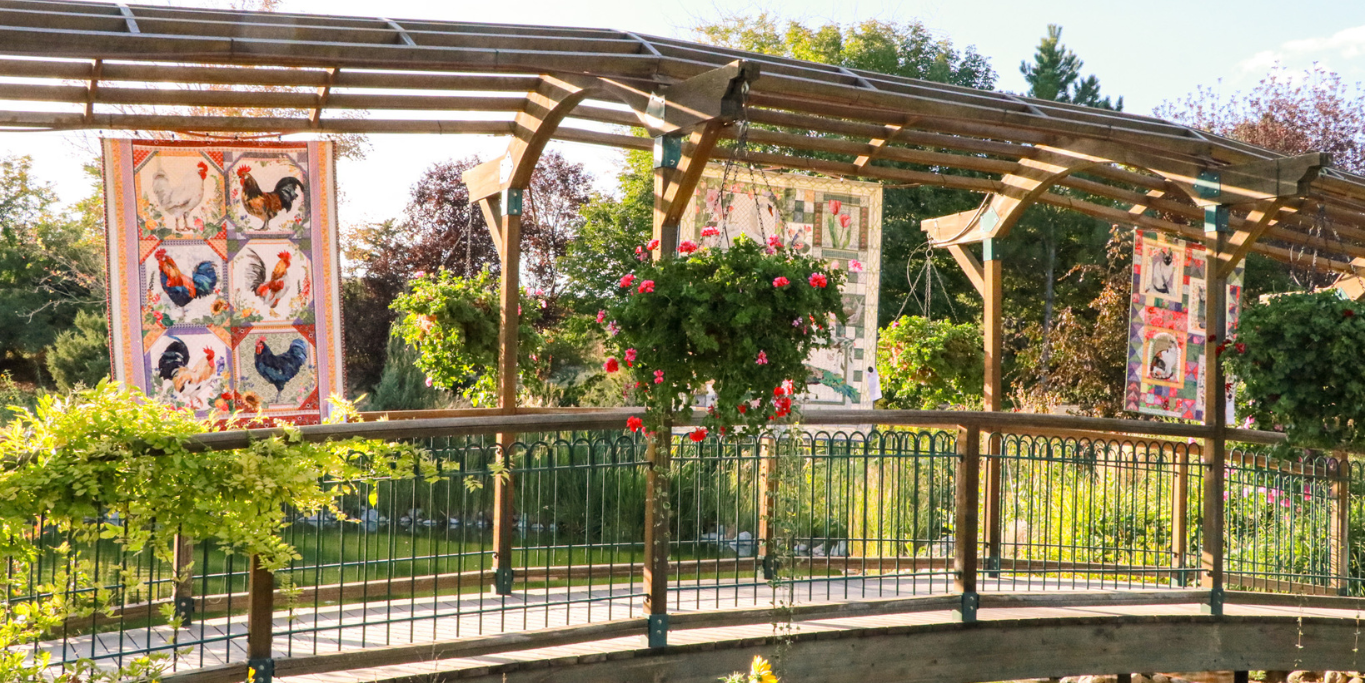
This year, on September 16 and 17, intricate quilts will be hung all throughout Ashton Gardens. Classes on piecing, embroidery, applique, and more will be taught by quilting icons and professionals, an exciting evening event will be offered, and a new challenge has been set to get everyone ready for Thanksgiving Point’s Garden of Quilts!
What do I mean? The Quilt Block Challenge: What Do You Meme is in full swing and there is still time to register!
There is a $60 registration fee which covers the fabric you will be sent and return shipping.
Your Fabric Kit will be sent to you within the week.
Once you finish your quilt block, submit your photo by August 1st. Quilt receiving will be August 10-30 and the quilt will be on display from September 11 to September 17. Your quilt block will be returned on September 30.
The rules:
- It must relate to the meme theme – It can be your interpretation of a meme that has been all over the internet, a niche meme, or even an original meme. It can feature just an image, just words, or both.
- It must measure 20” x 20” square
- It must consist of top, middle, and back fabric with hand or machine stitching through all layers.
- It must have a maximum thickness of no more than 1”.
- It must utilize a noticeable amount of the fabric provided to you. You can use other fabric, but you must also use the Riley Blake fabric sent to you.
- It must feature a hanging sleeve and label on the back of the quilt that includes the quilter’s name and quilt title.
- It must avoid profanity, religious symbols, or political statements. You can be silly, even a bit cheeky (most memes are), but anything containing unkind or disrespectful imagery or language will not be permitted.
prizes
This is a challenge, of course there are prizes!
- 1st place will receive $250.
- 2nd place will receive $100 and a gift basket from Riley Blake Designs.
- 3rd place will receive $50 and a gift basket from Riley Blake Designs.
We will also give one quilt the People’s Choice award and they will receive $100 and a gift basket from Riley Blake Designs.
I like this challenge because art and culture often influence one another. This competition meshes the two together – admire the craftmanship and have a little laugh.
how-to
To show you how anyone can do it, I tried making my own Meme Quilt Block and made sure to document (when I wasn’t seam ripping) to give you a little inside look.
Fair Warning: I have never quilted a day in my life, and my sewing skills leave much to be desired. Here we go!
Those participating in the challenge will be sent their own fabric kits, but I just went to a fabric store and grabbed some fat quarters in my color scheme. I do not own a sewing machine, so this was a hand sewing adventure for me (something I also have never done – YouTube to the rescue!).
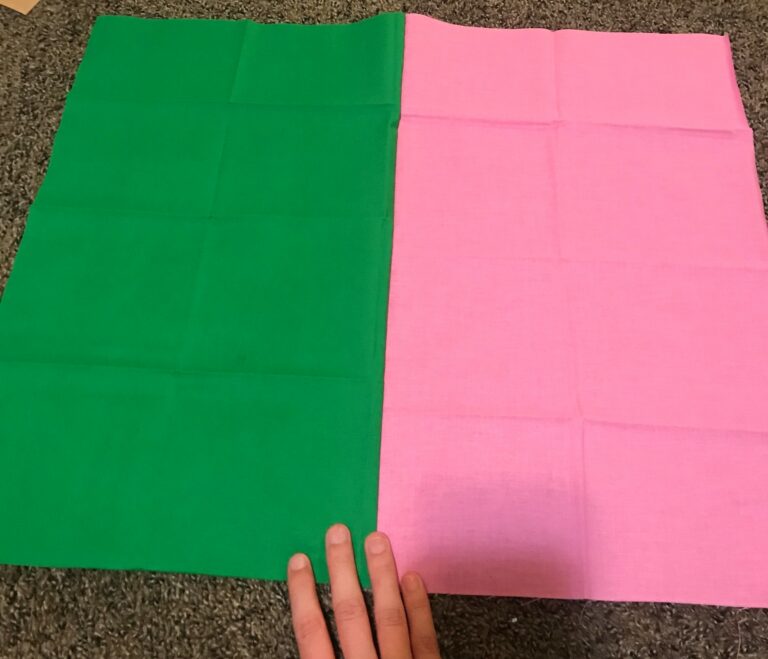
I decided to do a four-patch block in pink and green. Remember, your block must be 20” x 20” and you want your squares to be about an inch bigger than that, so you leave room for a seam allowance.
I placed my green square on top of my pink square. It didn’t matter as much to me which side was inward or outward since it was all the same, but if your design does depend on it, make sure the side of the fabric you want to be the front is on the inside.
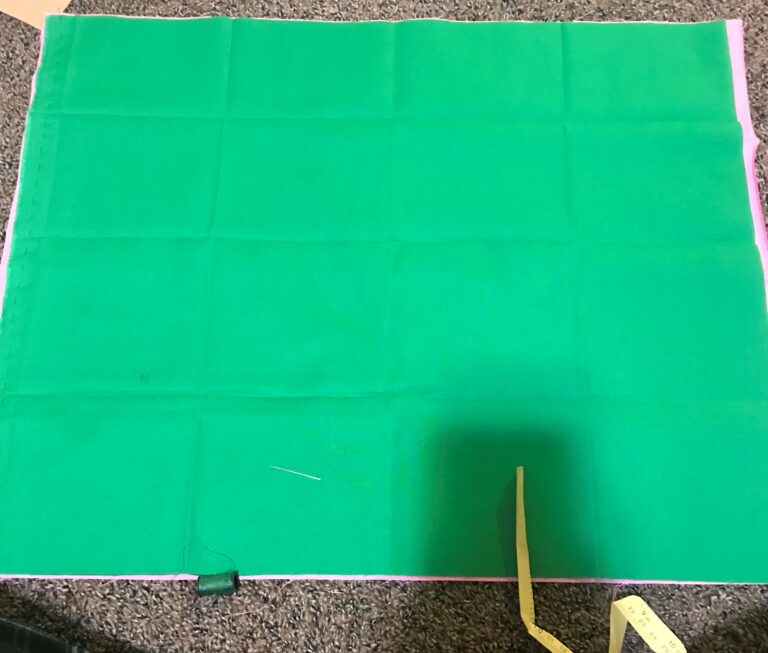
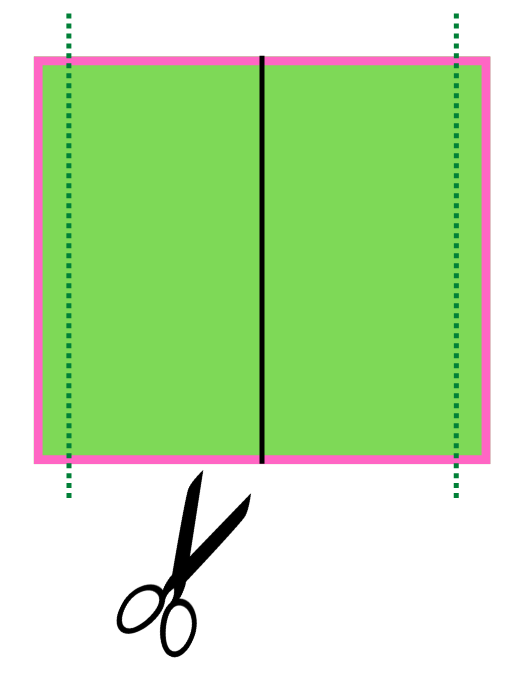
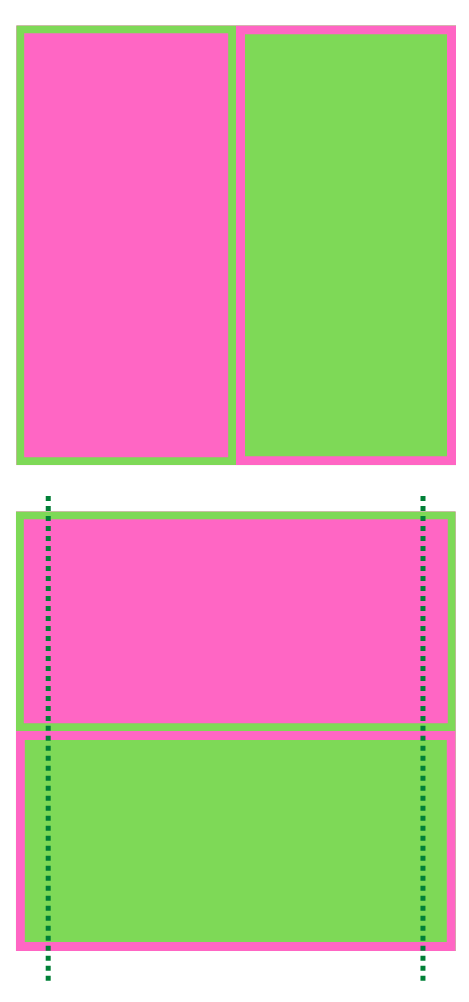
From there, I sewed up the left and right sides, making sure I had a ¼-inch seam allowance. In quilting, it is almost always a ¼-inch seam allowance.

Once your sides are sewn and sealed tight, you’ll want to cut straight down the middle (I recommend measuring just to be sure). A rotary cutter is usually preferred for fabric cutting, as is a cutting mat, but alas, I made do with a pair of scissors.
Then you can open the two pieces up and see how beautiful it is already starting to look. At this point, I’m not going to lie, I really started to gain some confidence. This was way more fun than I anticipated it would be!
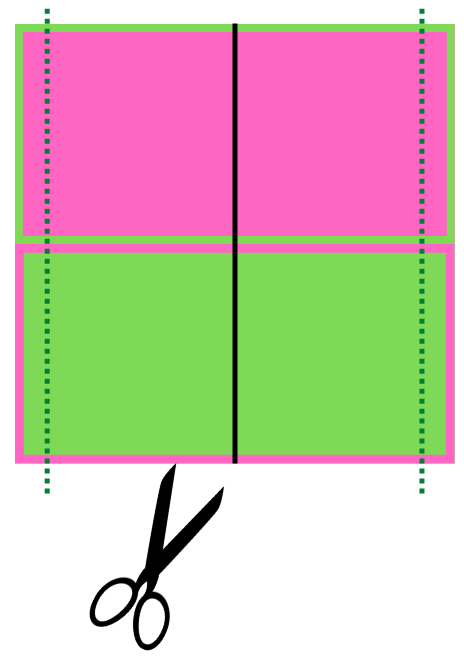
Next, you will lay those pieces on top of one another, just like you did in the beginning. Make sure the sides with the seams are touching the ground on your first piece and facing you with your second.
Iron those babies flat! I do not have an iron but can attest after trying to sew over a not-flat seam: definitely iron your pieces flat!
Once your seams are flat, turn your square so the seam in the middle is horizontal, not vertical.
Just like before, you can sew up the left and right sides (making sure to have a ¼-inch seam allowance), and then cut right in the middle.
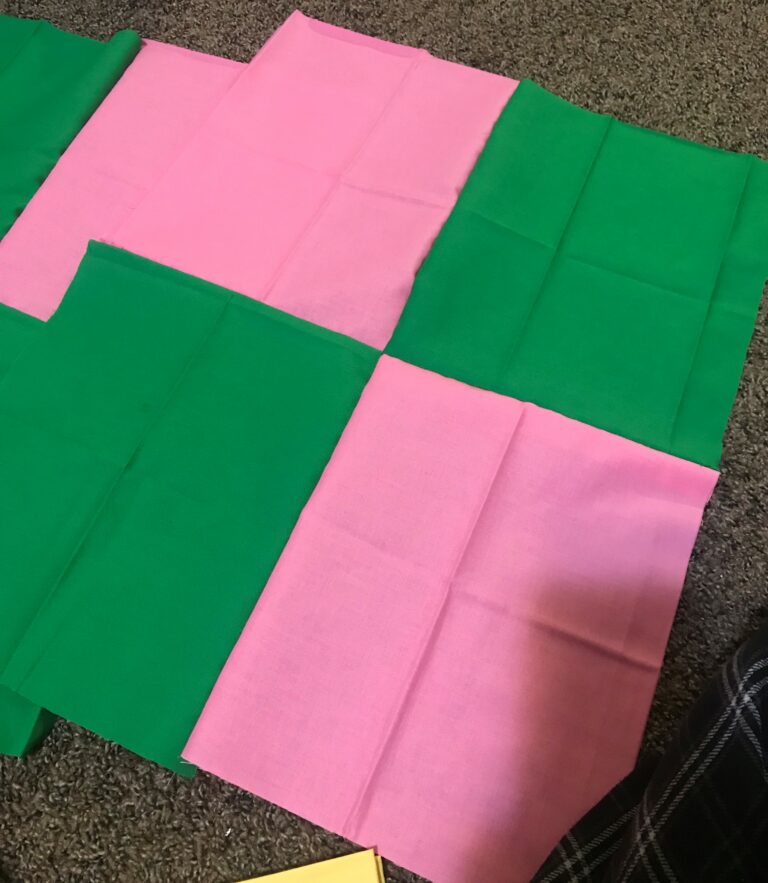
Once you have made your cut, you will open your fabric to see a beautiful 4-patch!
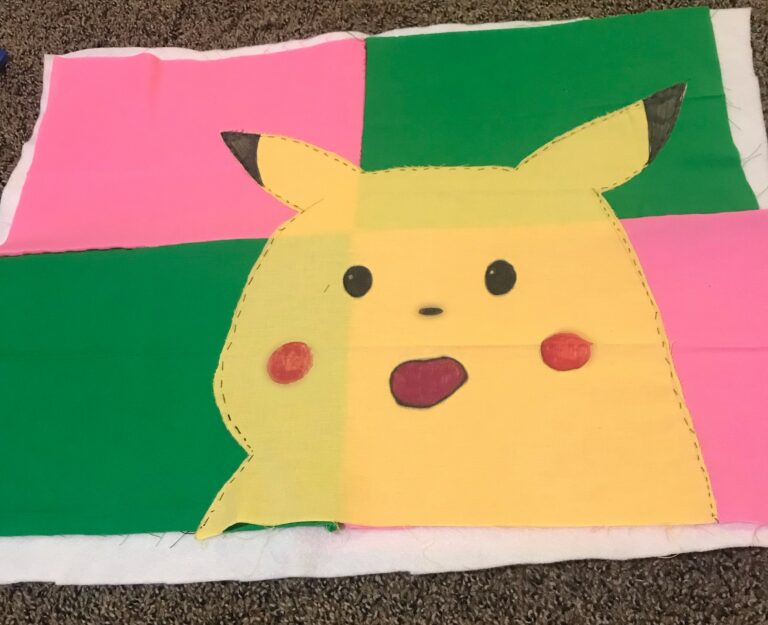
I knew I wanted to make the “Surprised Pikachu” design, 1. Because I loved Pokémon when I was a kid (and now, I’ll be honest), and 2. Because I have limited artistic ability, and this seemed quite manageable.
For your design, you can use any other embellishments, appliques, or beading you need to make the meme come to life.
So, with yellow fabric, I drew in pen the outline of Pikachu – mine having looked as if he’s eaten a few too many cookies. I wanted to use fabric for the details on the face but did not have enough for that, so I opted for markers instead. I definitely recommend using all the scraps you can from the Riley Blake package you will receive after registration!
I filled in Pikachu’s face, placed him on the 4-patch, and pinned him in place.
From there, I tried to delicately sew around his face and ears until he was firmly attached to the fabric.

And just like that, I had the front of my quilt block.
After that, it was just organizing my quilt block. I placed my backing on the bottom, cut my batting to line up with my backing, and placed the front piece I had just made on top of that to make a cute little Pikachu sandwich.
All that I had left to do is decide what I want my quilt lines to look like, sew onto my block, and put on a border, but I decided to leave that for another day. After all, the photo deadline isn’t until August 1!
If I can do it as a true and complete novice, so can you! I’ve learned that quilting can be challenging, while also being quite relaxing. I got to problem solve and be creative and artistic.
Tips and Strips
I wouldn’t trust tips coming from me, but here are a few tips from some long-time quilters to keep in mind when making your quilt block:
- Starch your fabric before cutting it.
- Make sure your ¼-inch seam allowance is accurate (spot-on, in fact)
- Use pins! They will keep all your pieces aligned and make sewing them together much easier
- Use strip piecing techniques when you can
- Make sure your seam intersections are aligned and pin them well
- Don’t be afraid to use your seam ripper
- Press as you go along – make sure you are pressing your seams flat. Be sure to press it once you are done as well
I am so excited to attend Garden of Quilts and see so many wonderful creations from people all over the world. I’m also hoping to see some awesome meme quilt blocks, so register today if you think you’ve got an idea that will blow people away!